Wired Ethernet vs WiFi Mesh Network Australia 2026: Which Is Worth Your Money?
Bottom Line Up Front
A single WiFi mesh node broadcasts continuous RF radiation across 2.4 GHz and 5 GHz bands — typically measuring 0.05 to 1.0 mW/cm² at one metre. A three-node mesh system triples the source count and blankets your entire home in measurable RF 24 hours a day. Wired ethernet generates zero radiofrequency radiation from data transmission. The best approach for most Australian households is a hybrid setup: ethernet to every fixed device, WiFi restricted to a single access point on a timer for mobile devices only. Before you spend a dollar on shielding or new hardware, measure your current exposure — that is the starting point for every decision.
| Criteria | Wired Ethernet | WiFi Mesh (3 nodes) |
|---|---|---|
| RF Exposure at 1m | 0.000 mW/cm² | 0.05–1.0 mW/cm² |
| Number of RF Sources | 0 | 3+ (each node dual/tri-band) |
| Bedroom RF (sleeping area) | Meets Building Biology SBM-2015 | Typically exceeds SBM-2015 limits |
| Latency | <1 ms | 5–30 ms (node hops) |
| Data Speed (typical real-world) | 940 Mbps (Cat 6) | 200–500 Mbps |
| Setup Difficulty | Moderate (cable runs) | Easy (plug & play) |
| 5-Year Total Cost (3 rooms) | $80–$250 (cables + switch) | $400–$900 (mesh system) |
I spent 12 years in the Royal Australian Navy as a Clearance Diver. In that career you learn one principle above all others: identify the hazard, measure it, then control it — in that order. Guessing gets people hurt. That same principle applies to radiofrequency exposure in your home, and the WiFi mesh trend sweeping Australian households in 2026 is worth examining through that lens.
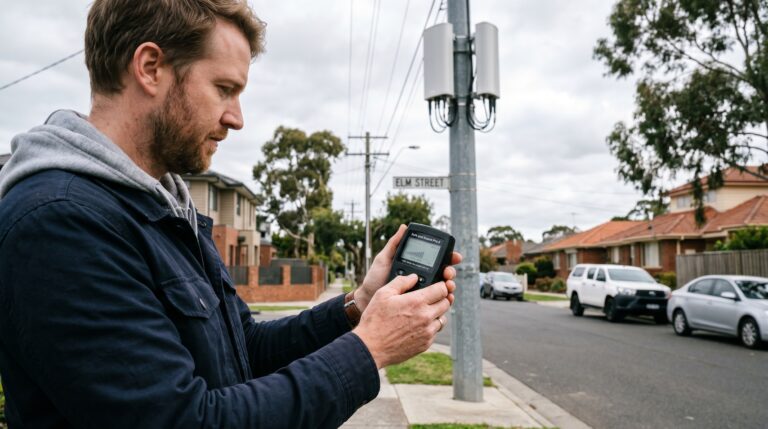
If you live in a typical three-bedroom home in Brisbane, Perth, Sydney, or Melbourne, there is a reasonable chance your NBN connection feeds a mesh WiFi system with two or three nodes scattered through the house. Each node is a continuous RF transmitter. You now have multiple sources of measurable radiofrequency radiation operating around the clock — including while you sleep.
This article compares the measurable EMF exposure from wired ethernet versus WiFi mesh networks, explains how to measure it yourself, and gives you a step-by-step plan to reduce RF in your home without losing internet connectivity. Every claim references ARPANSA limits, Building Biology SBM-2015 standards, or direct meter readings. No wellness language. Just data and practical steps.
Why WiFi Mesh Networks Multiply Your RF Exposure
A single WiFi router is one RF source. A mesh network with three nodes is three RF sources — each broadcasting simultaneously on 2.4 GHz, 5 GHz, and in newer WiFi 6E/7 systems, the 6 GHz band as well. The nodes also communicate with each other via a dedicated “backhaul” channel, adding further RF output that exists purely for the mesh to function.
Here is what you need to understand about mesh RF output. A standard WiFi router transmits at roughly 100 mW (milliwatts) EIRP on 2.4 GHz and up to 200 mW on 5 GHz. The ACMA regulatory limit for 2.4 GHz indoor devices in Australia is 4,000 mW EIRP, so consumer routers operate well below the legal ceiling. But “below the legal ceiling” does not mean “zero exposure.” At one metre from a typical mesh node, an RF meter will read between 0.05 and 1.0 mW/cm² depending on the device, band, and traffic load.
For context, the Building Biology SBM-2015 guideline for sleeping areas is less than 0.1 mW/m² — that is 0.00001 mW/cm². A single mesh node at one metre typically exceeds this guideline by a factor of 5,000 to 100,000. Three nodes spread through the house means there is essentially no sleeping area in the home that falls below this threshold.
Key distinction: ARPANSA’s RF reference level at 2.4 GHz is 1,000 µW/cm² (1 mW/cm²), which is a thermal safety limit — it protects against tissue heating. The Building Biology SBM-2015 precautionary standard for sleeping areas is 0.00001 mW/cm² (0.1 mW/m²). These two standards differ by a factor of 100,000. Neither is “wrong” — they measure different things. ARPANSA protects against acute thermal effects. Building Biology addresses chronic low-level exposure during sleep. You decide which standard matters for your family.
The problem compounds with smart home devices. Every WiFi-connected smart bulb, thermostat, camera, and speaker continuously polls the mesh network, generating RF traffic even when you are not actively using the internet. A household with 15–30 smart devices — not unusual in 2026 — creates a baseline RF environment that never drops to zero. If you want to understand what this looks like in your specific home, the only honest answer is: measure it.
Wired Ethernet: Zero RF from Data Transmission
Ethernet cables (Cat 5e, Cat 6, Cat 6a) transmit data as electrical signals along shielded or unshielded twisted pairs. The data transmission produces zero radiofrequency radiation. This is not a marketing claim — it is basic physics. The signals travel through the conductor, not through the air.
There are some nuances worth noting. Unshielded twisted pair (UTP) Cat 5e cable does produce a small amount of electromagnetic interference (EMI) in the extremely low frequency (ELF) range. This is measurable with a TriField TF2 in AC magnetic mode, but the readings are typically below 0.01 µT at 30 cm from the cable — well under the Building Biology SBM-2015 sleeping area limit of 0.2 µT. Shielded twisted pair (STP) Cat 6a cable reduces even this negligible emission further.
The bottom line: every device you move from WiFi to ethernet is one fewer RF source in your home. Your desktop computer, smart TV, gaming console, printer, NAS drive, and streaming box all have ethernet ports. They do not need WiFi. They are using WiFi because it was easier to set up — not because it is better.
What About the NBN Connection Itself?
Your NBN connection type matters. In Australia, the four main NBN connection types are:
- FTTP (Fibre to the Premises): Fibre optic to your NTD box. Zero RF from the connection itself. The NTD has an ethernet port — plug your router or switch directly in.
- FTTC (Fibre to the Curb): Fibre to the street pit, copper/coax the last 30-50m to your NCD. The NCD has an ethernet port. No RF from the connection.
- FTTN/FTTB (Fibre to the Node/Building): Copper (VDSL2) from the street cabinet to your modem. Ethernet port on the modem. No RF from the connection.
- Fixed Wireless NBN: This does use RF — a 3.5 GHz or 28 GHz antenna on your roof communicates with a nearby tower. You cannot eliminate this RF, but you can still use ethernet from the indoor unit to your devices and disable the indoor unit’s WiFi radio.
Regardless of NBN type, once the signal reaches your modem or NTD, you have an ethernet port available. The RF in your home comes from your router’s WiFi radio, not from the NBN connection. This means you control it. Let’s look at how to set up a wired-first network without calling an electrician.
How to Run Wired Ethernet Without an Electrician: Three Methods
The number one objection to wired ethernet is “I don’t want to run cables through my walls.” Fair enough. Here are three approaches, ordered from lowest to highest RF reduction.
Method 1: Powerline Adapters (Easiest, Moderate RF Reduction)
Powerline adapters use your home’s existing electrical wiring to carry network data. You plug one adapter into a power point near your router (connected via ethernet cable), and another adapter into a power point near the device you want to connect. The data travels through the copper wiring in your walls.
RF impact: Powerline adapters eliminate WiFi RF for the connected device. However, they do introduce some high-frequency EMI onto your home’s electrical wiring (typically 2-68 MHz for HomePlug AV2). This is measurable as “dirty electricity” and will register on an AC electric field meter. For most people, this is a worthwhile tradeoff — the RF reduction from removing WiFi is far greater than the HF EMI introduced. But it is not zero-EMF.
Real-world speed: 100-400 Mbps depending on your home’s wiring age and circuit topology. Homes built after 2000 with newer wiring typically perform better. Older Queensland homes with aluminium wiring may see slower speeds.
Cost: $80–$150 AUD for a quality pair (TP-Link AV2000 or similar). No electrician required.
Method 2: MoCA Adapters Over Coax (Best Speed, No Electrician)
If your home has existing coaxial cable runs (from Foxtel, old antenna installations, or FTTB NBN), MoCA (Multimedia over Coax Alliance) adapters can deliver ethernet-grade speeds over that coax. Speeds reach 1 Gbps or higher with MoCA 2.5 adapters.
RF impact: Zero RF. Data travels through the shielded coaxial cable. Coax is inherently shielded — the braided copper outer conductor contains the signal. This is the closest you get to a proper ethernet run without pulling new cable.
Availability in Australia: MoCA adapters are less common in AU retail than in the US. You may need to import from Amazon US or source from specialist networking retailers. Ensure compatibility with Australian coax fittings (typically F-type connectors, same as US standard).
Method 3: Direct Ethernet Cable Runs (Best Performance, Lowest EMF)
Running Cat 6 ethernet cable from your router location to each room is the gold standard. You do not need an electrician for this — you need a drill, cable clips, and 30 minutes per room.
Surface runs: Use adhesive cable clips to run Cat 6 cable along skirting boards, door frames, and ceiling edges. Paint-matched cable covers from Bunnings ($8-15 per 2m length) make this visually clean. Total cost for a three-bedroom home: $50-80 in cable and clips.
Through-wall runs: A 10mm masonry bit and a grommet allow you to pass ethernet cable between rooms through a single hole. This is a 10-minute job per wall. No electrician’s licence is required in any Australian state for low-voltage data cable installation.
Ceiling runs: If you have roof cavity access, running Cat 6 through the ceiling space and dropping it down to wall plates is the cleanest solution. A box of 305m Cat 6 cable costs $80-120 AUD. Keystone wall plates cost $5-8 each. Total materials for a three-bedroom home: $120-200.
Palm Beach QLD reality check: I ran ethernet through my own home — a 1990s brick-and-tile Queensland build — in a single Saturday afternoon. Four rooms, all surface runs along skirting boards with white cable covers. Total cost: $95 in materials from Bunnings. Time: 3.5 hours. My TriField TF2 now reads 0.000 mW/cm² in the bedroom with the router’s WiFi radio disabled. That reading was previously 0.12 mW/cm² with a single router in the hallway.
Once you have ethernet in each room, connect a simple unmanaged gigabit switch ($25-40 AUD) if you need more than one port per room. Your smart TV, desktop, gaming console, and streaming box all plug in directly. No WiFi required for any of them.
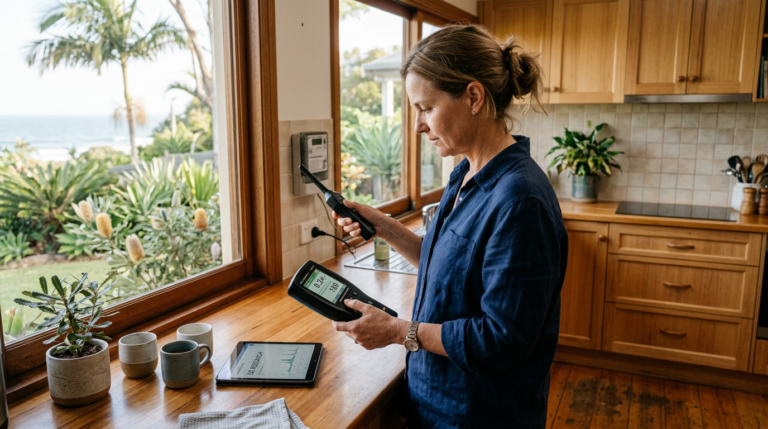
How to Measure RF Exposure in Your Home: The TriField TF2
You cannot manage what you do not measure. Before making any changes to your network setup, take baseline RF readings in every room. This tells you exactly where your exposure is highest, which sources are dominant, and whether your changes actually worked.
The TriField TF2 EMF meter is the most practical all-in-one meter for Australian households. It measures three field types:
- RF (radiofrequency): 20 MHz to 6 GHz — covers WiFi 2.4/5/6 GHz, smart meters (900 MHz), mobile phone signals, Bluetooth
- AC magnetic fields: 40 Hz to 100 kHz — covers powerline ELF from wiring, appliances, transformers
- AC electric fields: 40 Hz to 100 kHz — covers voltage-induced fields from wiring, even when no current flows
Step-by-Step Measurement Protocol
- Set the TriField TF2 to “Standard” RF mode. Walk slowly through each room, holding the meter at chest height. Note the peak reading in each location. Pay special attention to bedrooms, home offices, and any room where you spend more than 2 hours daily.
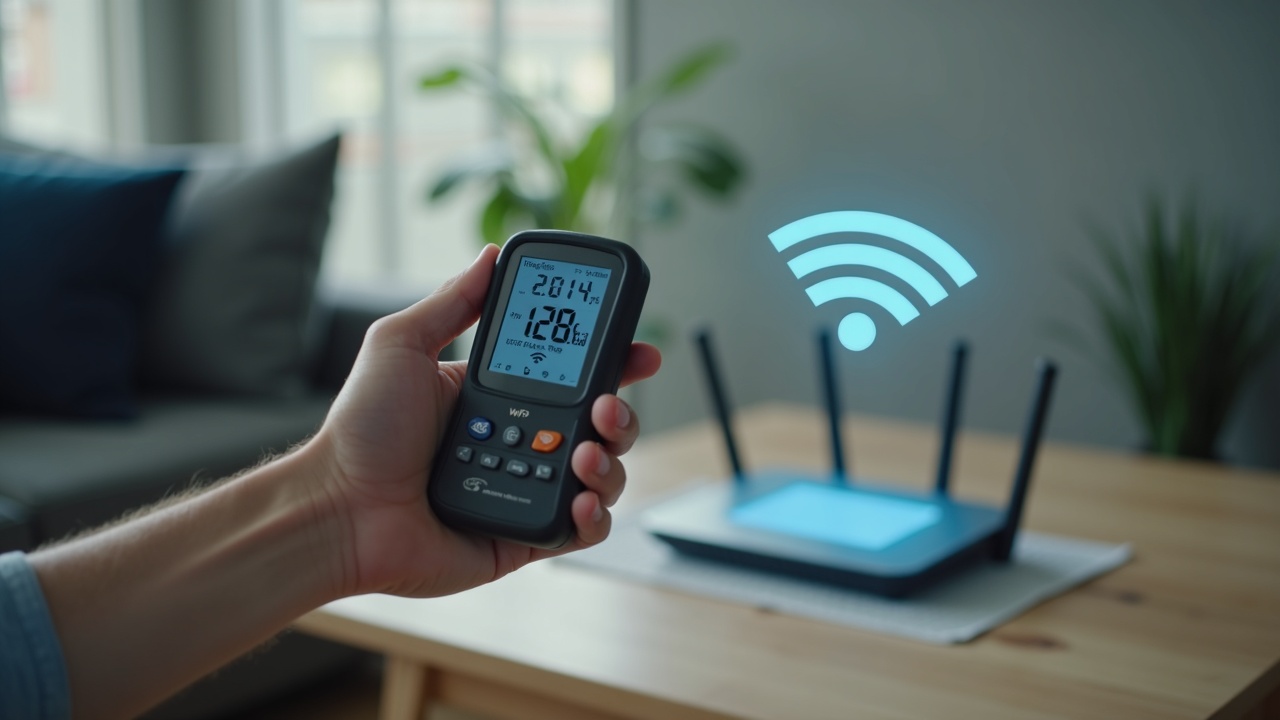
- Measure at 1m from each WiFi node/router. Record this reading. A typical mesh node reads 0.05–1.0 mW/cm² at 1 metre.
- Measure your bedside table. This is where your phone sits at night. With WiFi and cellular active, expect 0.01–0.5 mW/cm² depending on signal strength and distance to router.
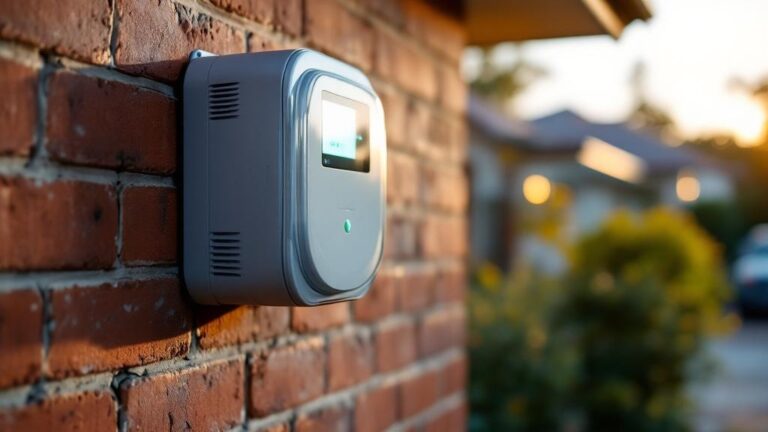
- Check your smart meter. Australian smart meters transmit at 900 MHz in bursts. Peak readings can be 100 to 1,000 times higher than the time-averaged exposure. The TriField TF2 in “Peak” mode captures these bursts. Measure at 1m from the meter box.
- Record, disable WiFi, remeasure. Turn off your router’s WiFi radio (leave ethernet active). Remeasure the same locations. The difference is your WiFi contribution — often 80-95% of total indoor RF in homes without nearby cell towers.
Measure First. Act Second.
The TriField TF2 measures RF, AC magnetic, and AC electric fields in one meter. Without real readings every EMF decision is a guess.
For dedicated RF analysis — especially if you want to identify individual frequency sources like smart meters versus WiFi versus neighbour signals — the Safe and Sound Pro II offers superior sensitivity (0.005 µW/m² minimum detection) and frequency-weighted measurement from 200 MHz to 8 GHz. It is the serious tool for RF-focused assessment. But for most households, the TriField TF2 is the better starting point because it covers all three field types in one device.
The Optimal Hybrid Setup: Wired Backbone, Minimal WiFi
Total elimination of WiFi is ideal from an RF perspective but impractical for most families. Phones, tablets, and some IoT devices have no ethernet port. The realistic goal is a hybrid setup: wired ethernet to every fixed device, with WiFi restricted to the minimum necessary for mobile devices.
Here is the exact setup I run at my home in Palm Beach, QLD, and recommend for Australian households:
Step 1: Wire Every Fixed Device
Connect via ethernet cable: desktop computers, laptops (via USB-C ethernet adapter when docked), smart TVs, gaming consoles, streaming devices (Chromecast/Apple TV have ethernet adapters available), NAS drives, printers, and any fixed-location smart home hub.
Result: These devices no longer generate or receive WiFi RF. They also get faster, more stable connections. A Cat 6 ethernet connection delivers 940 Mbps with sub-1ms latency — consistently. Your WiFi mesh will never match that.
Step 2: Disable WiFi on Your Router (or Replace It)
Log into your router’s admin panel (typically 192.168.0.1 or 192.168.1.1) and disable the WiFi radio. Your router now functions as a wired-only gateway. All your ethernet-connected devices continue working normally.
If you still need WiFi for phones and tablets, do NOT leave your main router’s WiFi on. Instead, connect a dedicated low-EMF access point to the wired network that you can control independently. The JRS Eco 100 is purpose-built for this. It reduces RF output by approximately 90% compared to standard routers by transmitting only when data is actually being transferred (pulsed mode rather than continuous beacon). When idle, its RF output drops to near zero.
Step 3: Timer on the WiFi Access Point
If you use a standard access point instead of the JRS Eco 100, plug it into a mechanical timer from Bunnings ($15). Set the timer to cut power from 10 PM to 6 AM (or whenever your household sleeps). This eliminates 8 hours of continuous RF exposure per night — the period when your body is most vulnerable and when nobody is using WiFi anyway.
This single $15 action — a timer switch on the WiFi access point — is the highest-impact, lowest-cost EMF reduction available to any Australian household. Full stop.
Step 4: Phone Airplane Mode at Night
Your phone sitting on the bedside table transmits on WiFi (2.4/5 GHz), cellular (700 MHz to 3.5 GHz), and Bluetooth (2.4 GHz) simultaneously. Airplane mode disables all three. This costs nothing and eliminates the RF source closest to your head during 8 hours of sleep.
If you use your phone as an alarm, airplane mode keeps the alarm functional. If you need to receive emergency calls, move the phone to the far side of the room (inverse square law: doubling the distance reduces RF power density by 75%).
Step 5: Demand Switch for the Bedroom (Optional, $100-$150)
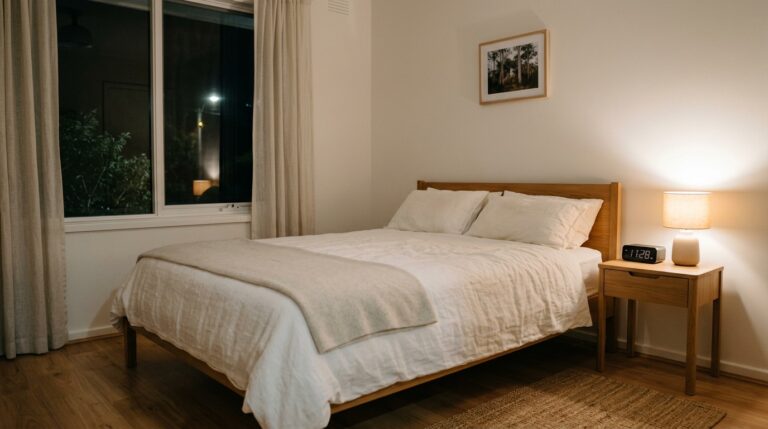
A demand switch — installed by a licensed electrician on your bedroom circuit — cuts voltage to the bedroom wiring when no current is being drawn. This eliminates AC electric fields from the wiring in your walls during sleep. The TriField TF2 in AC electric mode will confirm the reduction: typically from 5–30 V/m down to less than 1 V/m.
This is not directly related to WiFi versus ethernet, but it completes the low-EMF sleeping environment. Combined with ethernet, a router timer, and phone airplane mode, your bedroom RF and ELF exposure drops to levels consistent with the Building Biology SBM-2015 standard for sleeping areas: RF below 0.1 mW/m², magnetic below 0.2 µT, electric below 5 V/m.
Complete Comparison: Wired Ethernet vs WiFi Mesh vs Hybrid Setup
| Factor | Full Wired Ethernet | WiFi Mesh (3 nodes) | Hybrid (Wired + Timed WiFi) |
|---|---|---|---|
| RF Exposure (bedroom, sleeping) | 0.000 mW/cm² | 0.01–0.5 mW/cm² | 0.000 mW/cm² (timer off) |
| RF Exposure (daytime, living areas) | 0.000 mW/cm² | 0.05–1.0 mW/cm² | 0.01–0.1 mW/cm² (single AP) |
| Data Speed (real-world) | 940 Mbps | 200–500 Mbps |
Get the Australian Home Environment Checklist30 checks across water, air and EMF. Most of them free. Ranked by impact. No spam. Unsubscribe any time. 
Written by Jayce Love
Former Royal Australian Navy Clearance Diver and TAG-E counter-terrorism operator. Founded Clean and Native to apply the same rigorous thinking to the home environment. Full biography →Similar Posts
|