Zero RF Baby Monitor Australia: The Only Truly Wired Setup
Drafted with AI assistance and checked against published specifications and certifications. First-hand measurements appear only where stated. How we make content
The only way to achieve a actually zero-RF baby monitor in Australia is a Power-over-Ethernet IP camera on a wired ethernet run — no WiFi, no DECT, no Bluetooth at any point in the signal chain. This is not complicated, it costs under $200 total, and a wired Power-over-Ethernet camera emits no RF in the nursery. This guide walks you through the exact hardware, the exact steps, and the exact verification process — our documented methodology.
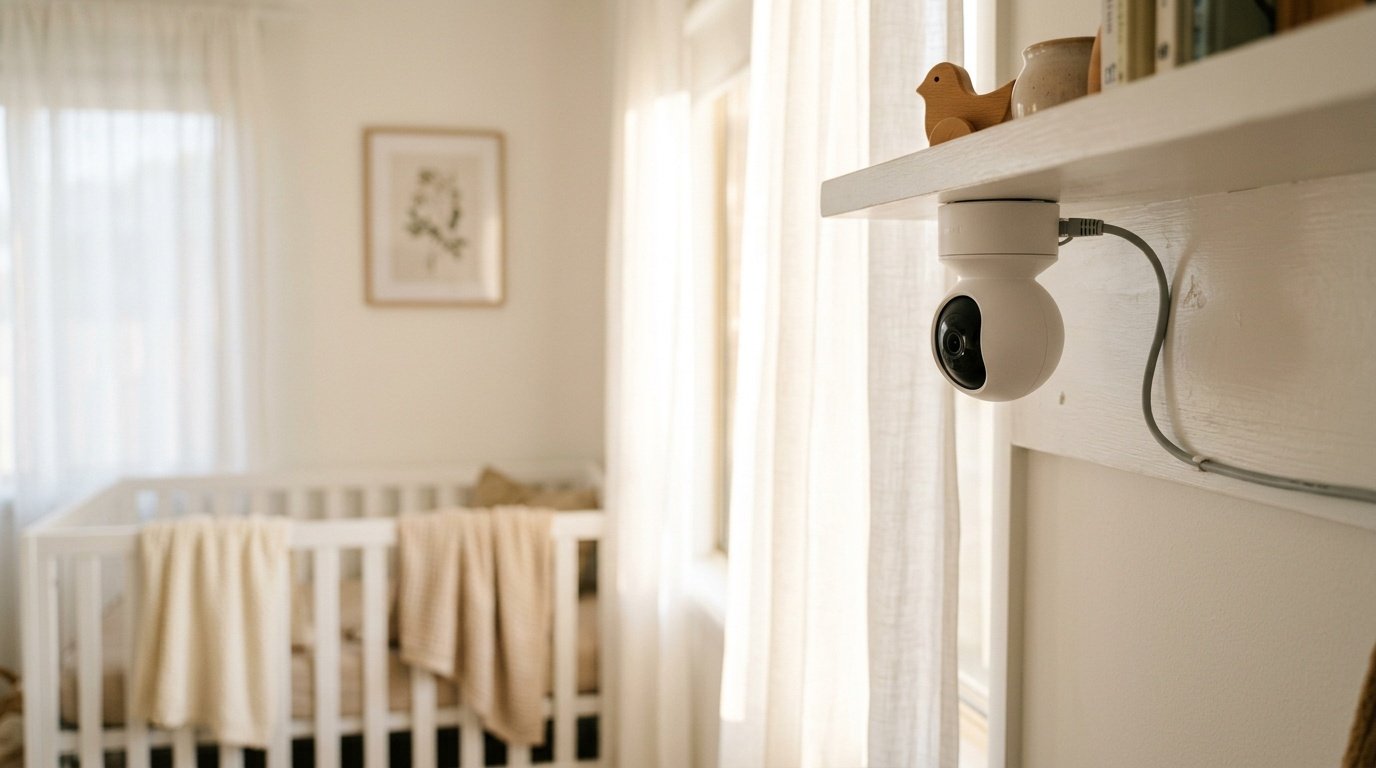
The Reolink E1 PoE is the only indoor PoE camera readily available on Amazon AU that delivers pan-tilt, two-way audio, night vision, and zero RF emissions when wired — making it the definitive zero-RF baby monitor solution for Australian parents. A single Cat6 ethernet cable carries both data and power from a PoE injector at your router to the camera in the nursery. Your phone views the feed via the Reolink app over your home LAN. The camera itself never transmits a wireless signal. The catch: you need to run an ethernet cable from your router area to the nursery, which takes 20-30 minutes in most Australian homes with ceiling access.
Key catches
- Requires running a physical ethernet cable — renters may need adhesive cable clips along skirting boards instead of ceiling runs
- Your phone still connects to your WiFi router to view the feed — the camera is wired, but your viewing device is not (you can disable WiFi on your phone and use ethernet-to-USB-C if you want total zero-RF)
- No portable parent unit like a traditional baby monitor — you use your phone or a tablet on your LAN
✓ Who This Is For
- Parents who want verified zero RF radiation in the nursery during sleep
- Homeowners who can run a single Cat6 cable from router to nursery (ceiling access or along skirting boards)
- Families already reducing bedroom EMF (demand switches, router timers, phone airplane mode)
- Parents who want higher-quality video (5MP) than any dedicated baby monitor on the market
- Tech-comfortable parents happy using a phone app instead of a dedicated parent unit
× Who It Is Not For
- Parents who want a self-contained, plug-and-play system with a dedicated parent unit — a standard DECT monitor is simpler (but emits RF continuously)
- Renters whose landlord will not allow any cable routing and who cannot run cable along skirting boards
- Parents who need portability between rooms — this is a fixed-position camera on a wired connection
- Anyone not comfortable with basic networking (router, ethernet cable, app setup)
- Families who need remote access from outside the home without configuring a VPN — Reolink cloud relay works but means data leaves your LAN
Why Every Wireless Baby Monitor Emits RF Radiation
Here is the problem most parents do not realise they have: every wireless baby monitor sold in Australia — whether it is marketed as “low EMF”, “digital”, or “eco mode” — emits radiofrequency microwave radiation while operating. The three technologies on the market each do it differently, but the result is the same: an RF-emitting device positioned 1-2 metres from your infant’s head for 8-12 hours every night.
DECT monitors (the traditional two-unit systems from brands like VTech and Motorola) operate at 1.9 GHz with a continuous carrier wave. Even when no audio is being transmitted, the base station maintains its connection by transmitting. Some “eco mode” DECT monitors reduce power when silent, but according to the BioInitiative 2012 summary by Sage and Carpenter, precautionary levels for children’s sleeping areas are below 1 mW/m² — and even eco-mode DECT monitors typically exceed this at 1-metre distance.
WiFi camera monitors (Owlet, Nanit, Cubo, and dozens of others) transmit at 2.4 GHz or 5 GHz continuously. They are streaming video, which means constant data transmission — not intermittent bursts like a smart meter, but sustained RF output for the entire sleep period. These are essentially WiFi routers bolted to your nursery wall.
The offset problem: Parents who follow EMF reduction principles — putting phones in airplane mode, using router timers at night, installing demand switches on bedroom circuits — and then place a WiFi baby monitor 1 metre from their infant’s cot are offsetting the gain entirely. You have eliminated the router’s RF from the bedroom and replaced it with a device transmitting at the same frequency, closer to the sleeping child, for longer.
What Power-over-Ethernet Actually Is (And Why It Solves This)
Power-over-Ethernet is an IEEE 802.3af/at standard that delivers both data and 48V DC power over a single ethernet cable. One cable runs from a PoE source (either a PoE-capable network switch or a standalone PoE injector) to the camera. The camera receives power and sends video data over the same cable. No separate power adapter at the camera end. No WiFi radio. No Bluetooth. No DECT. Zero wireless protocols at any point.
This is the critical point parents miss: the camera itself has no wireless radio active when connected via PoE. The Reolink E1 PoE does contain WiFi hardware (it can operate wirelessly as a fallback), but when connected via ethernet, the WiFi radio is disabled.
But My Phone Uses WiFi to View the Feed?
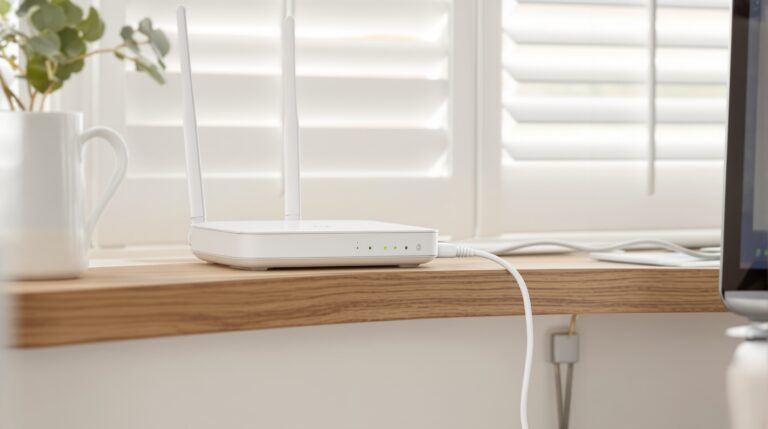
Yes. And this is where the architecture matters. The signal path is: Camera → ethernet cable → router → WiFi → your phone. The camera-to-router link is wired. Your phone connects to your router via WiFi to view the feed. But your phone and router are not in the nursery — they are wherever you are (the lounge, the bedroom). The nursery itself has zero RF-emitting devices.
If you want to eliminate WiFi from the viewing end too, you can connect a tablet or laptop to your router via ethernet (using a USB-C to ethernet adapter) and view the Reolink feed through the web interface. This gives you a fully wired system end-to-end. Most parents will not go that far — having WiFi in the lounge or master bedroom while the nursery is RF-free is the practical compromise.
The Exact Hardware You Need (Three Items, Under $200)
I kept this deliberately simple. Three items, all available on Amazon AU, total cost under $200 depending on cable length.
| Item | Product | Purpose | Est. Price (AUD) |
|---|---|---|---|
| 1. Camera | Reolink E1 PoE | 5MP indoor PoE camera with pan/tilt, two-way audio, IR night vision | ~$90-110 |
| 2. PoE Injector | Hasoinso PoE Injector 802.3af | Converts standard ethernet + wall power into PoE feed for the camera | ~$20-25 |
| 3. Cable | Cat6 Ethernet Cable (length to suit) | Data + power delivery from injector to camera (max 100m per 802.3af spec) | ~$15-40 |
Total: approximately $125-175 AUD. That is less than a Bebcare Motion ($189-199) or Bebcare iQ ($199-219) — and unlike those units, this setup produces zero RF in the nursery. The Reolink E1 PoE also delivers 5MP video, which is substantially higher resolution than any dedicated baby monitor on the Australian market.
If you already have a PoE-capable network switch (Ubiquiti, TP-Link TL-SG1005P, or similar), you do not need the standalone PoE injector — plug the camera’s ethernet cable directly into a PoE port on your switch. The injector is for the majority of Australian households running a standard ISP-supplied router with no PoE ports.
Full Step-by-Step Setup (30 Minutes)
Here is the exact sequence. No networking experience required — if you can plug in an ethernet cable, you can do this.
Step 1: Plan Your Cable Run
Measure the distance from your router (or wherever you will place the PoE injector) to the nursery. In most Australian single-storey homes and townhouses, this is 10-20 metres. For two-storey homes, you may be running 15-30 metres. Cat6 ethernet supports PoE up to 100 metres, so length is not a concern for any residential layout.
For homeowners: The cleanest run is through the ceiling cavity. Drop the cable through a small hole in the nursery ceiling or wall plate, run it through the cavity, and drop it near your router. A single 8mm hole is all you need at each end. If you are not comfortable doing this yourself, any low-voltage data cabler can do it for $100-150.
For renters: Run the cable along skirting boards using adhesive cable clips ($5-10 from Amazon AU). No wall damage. The cable can also run under doors if the nursery is close to the router. Flat Cat6 cables are available if clearance is tight.
Step 2: Connect the PoE Injector
At the router end, plug the Hasoinso PoE Injector into a power outlet. Connect a short ethernet patch cable from your router’s LAN port to the injector’s “Data In” port. Connect your long cable run (going to the nursery) to the injector’s “Data + Power Out” port. The injector combines the network data with 48V DC power and sends both down the single cable.
Step 3: Connect the Camera
At the nursery end, plug the ethernet cable into the Reolink E1 PoE’s ethernet port. The camera powers on immediately — no separate power adapter needed. Position the camera where you want it (shelf, wall mount, or ceiling mount — mounting hardware is included). Aim it at the cot.
Step 4: Add the Camera to the Reolink App
Download the Reolink app (free, iOS and Android). Open the app, tap “Add Device”, and scan the QR code on the bottom of the camera. The app discovers the camera on your local network automatically. Set a strong password. You now have a live 5MP video feed with two-way audio and infrared night vision.
Step 5: Verify Zero RF
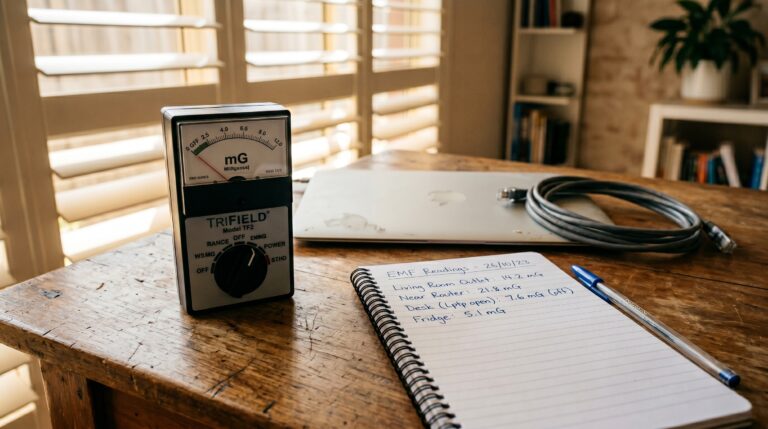
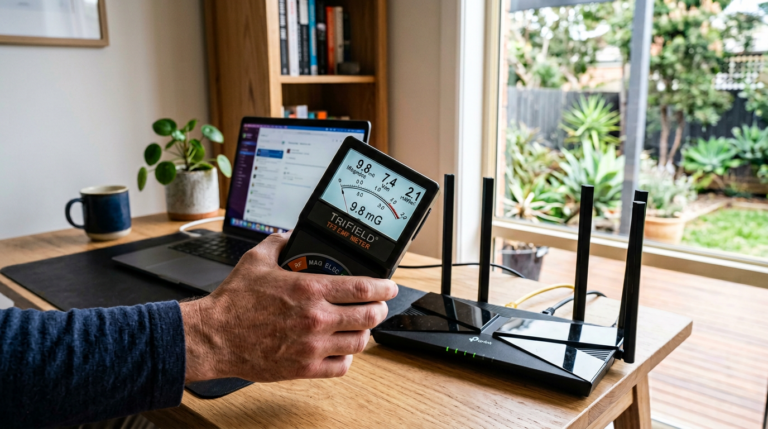
This is the step that separates precaution from guesswork. Hold an RF meter in the nursery near the camera and scan the room. On a wired connection the reading should be ambient background only — no spikes at 2.4 GHz, no 5 GHz, no DECT 1.9 GHz, confirming the camera’s WiFi radio is inactive.
If you do not own an RF meter, the Safe and Sound Pro II from SaferEMF AU is the most sensitive handheld RF meter available to Australian consumers. It will show you exactly what is happening in the nursery — and in every other room.
What You Lose vs. a Wireless Baby Monitor (Honest Assessment)
I am not going to pretend this setup has zero trade-offs. Here is what you give up compared to a plug-and-play wireless baby monitor:
No dedicated parent unit. Traditional DECT monitors come with a portable parent unit you carry around the house. With the PoE setup, your “parent unit” is your phone or tablet running the Reolink app. For most parents under 40, this is actually preferable — you already carry your phone everywhere. But if you want a standalone screen that does nothing but show the baby feed, you will need a spare tablet on a dock.
No out-of-home remote access by default. When the camera is LAN-only (no cloud), you can only view the feed from devices on your home network. This is a feature, not a bug — your baby’s video feed never touches the internet. If you need remote access (e.g., from work), Reolink offers an optional cloud relay service. Enable it and the camera’s wired ethernet connection sends data to Reolink’s servers, which relay it to your phone. Important: this does not add RF to the nursery — the camera still uses ethernet. But your video data does leave your LAN. For parents who want both zero RF and zero cloud, configure a home VPN (WireGuard or OpenVPN on your router) instead.
Cable routing required. You need a physical cable between the router and the nursery. In a typical 3-bedroom Australian home, this is 10-20 metres. It is not difficult, but it is not zero-effort either. Once done, though, it is permanent — and you have a wired network drop in the nursery that is useful long after the baby monitor era ends.
What you gain: verified zero RF in the nursery, 5MP video (far superior to any dedicated baby monitor), pan-tilt control from your phone, two-way audio, infrared night vision, microSD recording, and no monthly subscription fees. At $125-175 total, it is cheaper than most premium baby monitors.
DECT vs. WiFi vs. PoE: Full Comparison
| Criterion | DECT Monitor | WiFi Camera Monitor | PoE Camera (Wired) |
|---|---|---|---|
| RF in Nursery | 1.9 GHz continuous | 2.4/5 GHz continuous | Zero |
| Setup Difficulty | Plug and play | Easy (WiFi pairing) | Moderate (cable run) |
| Video Resolution | VGA-720p typical | 1080p-2K typical | 5MP (2560×1920) |
| Two-Way Audio | Yes (most models) | Yes | Yes |
| Night Vision | Yes (most models) | Yes | Yes (IR LEDs) |
| Remote Access | In-home only (300m range) | Anywhere via cloud | LAN only (or VPN/cloud relay) |
| Monthly Fees | None | $5-15/month (most models) | None |
| Total Cost (AUD) | $80-250 | $150-450 + subscription | $125-175 (one-time) |
| Privacy | Good (no cloud) | Poor (cloud video of your child) | Excellent (LAN-only, no cloud) |
| Verdict | Convenient, continuous RF | Feature-rich, continuous RF + cloud privacy risk | Zero RF, best video, best privacy, requires cable run |
The comparison is stark. The PoE camera wins on every criterion except setup convenience. If running a cable is the barrier, consider what you are trading: a 30-minute cable run versus 8-12 hours of nightly RF exposure in the room where your infant sleeps. The maths is not close.
What About ARPANSA and Australian Regulations?
ARPANSA’s Radiation Protection Series 3 (RPS3) sets exposure limits for radiofrequency electromagnetic energy. According to ARPANSA, the limit at 2.4 GHz is 1,000 µW/cm² — a thermal safety standard designed to prevent tissue heating. This limit applies uniformly to all people; there is no specific infant-proximity provision or separate limit for devices positioned next to a sleeping baby for extended periods.
The ICNIRP international safety limits (which ARPANSA’s RPS3 aligns with) are set with large safety margins against known thermal effects. According to EMFRadar’s analysis, no studies have demonstrated health effects from baby monitors at typical operating distances under these limits. That is the regulatory position.
However, the BioInitiative 2012 summary (Sage and Carpenter) notes a precautionary recommendation below 1 mW/m² for children’s sleeping areas. This is not an Australian regulatory standard — it is a precautionary guideline from an independent scientific review. The Building Biology SBM-2015 standard sets a “no anomaly” threshold for sleeping areas at less than 0.1 mW/m² for RF.
What this means practically: ARPANSA says baby monitors are legal and within thermal safety limits. Building biology practitioners say the precautionary evidence warrants reducing RF in sleeping areas, particularly for infants. The PoE camera setup renders this debate irrelevant — zero RF means zero exposure, regardless of which standard you reference. You do not need to pick a side when the reading is zero.
Complementary Nursery EMF Reduction
Eliminating the baby monitor’s RF is the single highest-impact change for most nurseries. But if you are doing this, you might as well address the other sources while you are at it:
Router timer: If your WiFi router is in a hallway or adjacent room, a HPM 24 Hour Analog Timer (~$20) eliminates router RF during sleep hours. This is the highest-impact-per-dollar action for any bedroom. Full guide: Router timer EMF reduction.
Phone airplane mode: Free. If you are using your phone to view the baby feed, view it before bed, then put the phone in airplane mode. The Reolink app can send push notifications, but these require active WiFi. If you need alerts during the night, keep WiFi on but position the phone at maximum distance from any sleeping person.
Demand switch: A licensed electrician can install a demand switch on the nursery circuit for ~$100-150. This eliminates AC electric fields from wiring when no loads are drawing power. Relevant if the nursery has multiple power points on the same circuit.
Low-EMF alarm clock: If there is a digital clock in the nursery, replace it with a battery-powered analogue clock. See our guide to low-EMF alarm clocks.
Final Verdict
The Reolink E1 PoE on a wired ethernet run is the only true zero-RF baby monitor setup available to Australian parents. No “low EMF” marketing claims. No “eco mode” half-measures. Zero RF emissions in the nursery when the camera is wired. At approximately $125-175 for the complete kit, it costs less than most premium wireless baby monitors and delivers better video, better privacy, and no monthly fees.
Who should buy this: Any parent who takes nursery EMF reduction seriously and can run a single ethernet cable from the router area to the nursery (homeowners or renters with skirting board access).
Who should look elsewhere: Parents who need a portable, self-contained unit with a dedicated parent screen and no cable routing. A DECT monitor is simpler — but it emits RF continuously in the nursery. That is the trade-off, and it is yours to make with full information.
Build the zero-RF nursery. Start with the camera.
The Reolink E1 PoE, a PoE injector, and a Cat6 cable. Three items, under $200, 30 minutes to install. Zero RF emissions in the nursery when wired. No subscription fees, ever.
Last reviewed: July 2026 – Clean and Native
Frequently Asked Questions
Does a wired baby monitor still need WiFi?
No. The Reolink E1 PoE camera connects to your router via ethernet cable — it does not use WiFi. Your phone uses WiFi to connect to your router and view the feed, but the camera itself transmits zero wireless signals. The nursery remains RF-free.
Can I still use my phone to watch the baby feed?
Yes. The free Reolink app (iOS and Android) shows the live 5MP video feed, allows pan-tilt control, and supports two-way audio. Your phone connects to the camera through your home network — the camera’s end is wired, your phone’s end uses your home WiFi.
Is PoE camera setup difficult?
No. The setup involves running a single Cat6 ethernet cable from your router area to the nursery, connecting a PoE injector at the router end, and plugging the cable into the camera at the nursery end. Total time is about 30 minutes for most Australian homes. No networking expertise required.
What ethernet cable do I need for a PoE baby monitor?
Cat6 ethernet cable is recommended. It supports PoE power delivery up to 100 metres and provides reliable data transfer for 5MP video. Measure the distance from your router to the nursery and buy a cable slightly longer than you need. Flat Cat6 cables are available for tight clearances under doors.
Does the Reolink E1 PoE work in the dark?
Yes. The camera has infrared LEDs for night vision. It switches automatically to IR mode in low light, providing clear black-and-white video in complete darkness — essential for overnight nursery monitoring.
Is using a PoE camera as a baby monitor legal in Australia?
Yes. PoE IP cameras are standard consumer electronics sold openly in Australia. Using one to monitor your own child in your own home raises no legal issues. The Reolink E1 PoE carries appropriate electrical safety certification for Australian sale.
Does ARPANSA regulate baby monitor radiation levels?
ARPANSA’s Radiation Protection Series 3 (RPS3) sets general RF exposure limits aligned with ICNIRP guidelines. The limit at 2.4 GHz is 1,000 µW/cm², based on thermal safety. There is no specific provision for devices placed near sleeping infants for extended periods. Baby monitors that comply with general RF limits are legal for sale.
What if I rent and cannot run ethernet cable through the ceiling?
Run the Cat6 cable along skirting boards using adhesive cable clips — no wall damage, no drilling. Flat Cat6 cables can also run under doors. If cable routing is truly impossible, the Reolink E1 PoE can connect via WiFi as a fallback, but this defeats the zero-RF purpose. Use wired mode only for a actually RF-free nursery.
Can I view the baby camera feed from outside my home?
By default in LAN-only mode, the feed is accessible only within your home network. For remote access, you can either enable Reolink’s cloud relay (video data leaves your LAN but no RF is added to the nursery) or configure a home VPN for fully private remote viewing. A VPN keeps all data on your network.
How do I verify that the PoE camera is not emitting WiFi?
Check the Reolink app under Device Settings, Network, Connection Type — it should show “Wired”. For physical verification, hold an RF meter (such as the Safe and Sound Pro II) near the camera. Readings should show ambient background only — no 2.4 GHz or 5 GHz spikes.
Get the Australian Home Environment Checklist
30 checks across water, air and EMF. Most of them free. Ranked by impact.
No spam. Unsubscribe any time.

Former Royal Australian Navy Clearance Diver and TAG-E counter-terrorism operator. Founded Clean and Native to apply the same rigorous thinking to the home environment.
Full biography →