Well Water Testing Australia 2026: What to Test For
If you rely on bore water or a private well in Australia, nobody is testing it for you. Unlike mains supply regulated by state health departments and the Australian Drinking Water Guidelines (ADWG, NHMRC 2011), private well water has no mandatory monitoring — meaning you are responsible for identifying contamination before it reaches your family. As a former Navy Clearance Diver now based in Palm Beach QLD, I have spent years researching water quality across mains, tank, and bore supplies in this country, and the single biggest mistake rural property owners make is assuming clear water is safe water. I have not personally tested the Waterdrop D6 or AquaTru systems discussed here; this assessment is based on published manufacturer specifications and independent certification (NSF/ANSI, WaterMark AS3497), not first-hand measurement. The only products I measure first-hand are the EcoHero 5-Stage RO, TriField TF2, and Coway Airmega 150.
| Testing Method | What It Covers | Verdict |
|---|---|---|
| NATA-accredited lab panel | E. coli, nitrate, heavy metals, hardness, pH, TDS, turbidity, iron, manganese, pesticides | Recommended — gold standard |
| DIY test kit (TDS/pH/hardness strips) | TDS, pH, basic hardness — NOT bacteria, NOT heavy metals | Useful screening only |
| UV + sediment + RO treatment | Comprehensive filtration post-testing | Best treatment stack |
Every Australian bore or well owner should get a full NATA-accredited lab test at least annually, ideally after the first heavy rain of the wet season. The ADWG (NHMRC 2011) sets guideline values for over 200 parameters, but for private wells, the critical panel is microbial (E. coli/coliforms), nitrate, pH, hardness, TDS, iron, manganese, and turbidity. If results exceed guideline values, a UV + sediment pre-filter + reverse osmosis system is the only stack that addresses bacteria, heavy metals, and dissolved solids simultaneously. A lab test costs $150-$450 depending on the panel — a hospital stay from cryptosporidium or chronic nitrate exposure costs infinitely more.
Key catches
- DIY test kits cannot detect bacteria, heavy metals, or pesticides — they are screening tools, not diagnostic tools
- Well water quality changes seasonally — a single test is a snapshot, not a guarantee
- Carbon filters alone do NOT remove nitrate, fluoride, or bacteria from bore water
- Not all labs are NATA-accredited — always verify accreditation number before paying
Why Private Well Water in Australia Is Unregulated — and Why That Is Your Problem
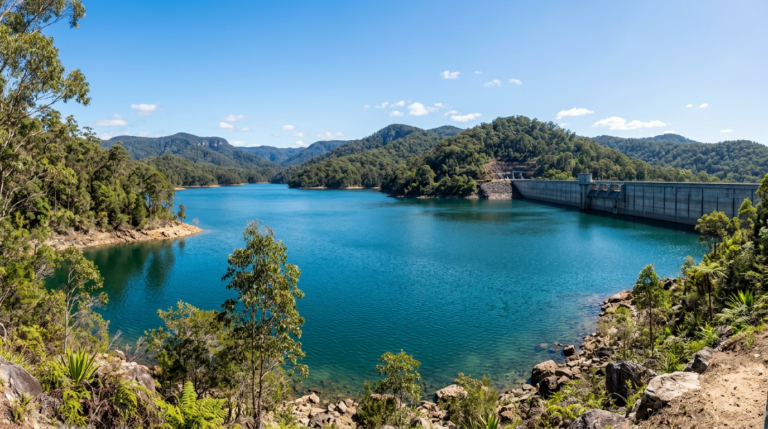
If you are on mains water in Brisbane, Sydney, Melbourne, or any urban centre, your water utility tests it daily. SEQ Water, for instance, publishes annual water quality reports covering over 50 parameters across its bulk supply network, and every capital city utility operates under the ADWG framework. But the moment you step off the mains grid — onto a bore, a spear point, or a dug well on a rural or peri-urban property — that regulatory safety net vanishes entirely.
Under Australian law, private drinking water supplies are your responsibility. The ADWG (NHMRC/NRMMC 2011) is a guideline document, not legislation. While Victoria’s Safe Drinking Water Act 2003 and Safe Drinking Water Regulations 2015 cover registered water suppliers, they do not extend to private domestic bores. The same gap exists in Queensland, NSW, WA, SA, and Tasmania. No state or territory mandates testing for private well owners. You test voluntarily, or you drink blind.
This matters because Australian bore water faces contamination risks that mains water does not. Agricultural runoff introduces nitrate from fertiliser and pesticide residues. Naturally occurring geology delivers arsenic, iron, manganese, and fluoride at levels that vary wildly between bores just kilometres apart. Septic systems and livestock operations near bore heads introduce E. coli and other faecal coliforms. According to the NHMRC, the ADWG guideline value for E. coli is zero — any detection in drinking water requires immediate action. You cannot smell, taste, or see E. coli. You can only test for it.
The cost of not testing is not abstract. Chronic nitrate exposure above the ADWG guideline of 50 mg/L (as nitrate) is linked to methaemoglobinaemia in infants — “blue baby syndrome.” Arsenic above 0.01 mg/L is a known carcinogen. Iron above 0.3 mg/L stains fixtures and gives water a metallic taste, but more critically, it feeds iron-oxidising bacteria that clog pipes and create biofilm. These are not rare conditions in Australian bore water. They are common, and they are preventable — if you test.
The Complete Well Water Testing Checklist: What to Test For in Australia
Not every contaminant matters equally in every bore. But a comprehensive baseline test should cover all the parameters below. I have organised them by priority based on the ADWG guideline values, health significance, and how commonly they appear in Australian bore water.
Tier 1: Mandatory on Every Test (Health-Critical)
E. coli and total coliforms — The ADWG guideline value for E. coli is zero organisms per 100 mL. Any detection confirms faecal contamination and means the water is unsafe to drink without disinfection. This is the single most important test for any well. Total coliforms at guideline value of zero per 100 mL are an indicator of sanitary integrity — their presence does not always mean faecal contamination, but it signals a pathway exists.
Nitrate (as NO₃) — ADWG guideline value: 50 mg/L (as nitrate). In agricultural areas across the Murray-Darling Basin, western QLD, and the WA Wheatbelt, fertiliser runoff and livestock waste push nitrate into shallow aquifers. Particularly dangerous for infants under six months. A bore downhill from a feedlot or cropping land should be tested for nitrate at minimum annually.
pH — ADWG aesthetic guideline: 6.5-8.5. But for bore water, pH is more than aesthetic. Low pH (acidic water, common in sandy coastal aquifers in WA and QLD) corrodes copper pipes, leaching copper and potentially lead into drinking water. High pH (above 8.5, common in limestone country in SA and western NSW) causes scaling and reduces the effectiveness of chlorine disinfection if you use it.
Turbidity — ADWG guideline: less than 5 NTU (aesthetic), but less than 1 NTU recommended for effective disinfection. Turbidity measures suspended particles. High turbidity shields bacteria from UV disinfection — if your bore water is turbid, a UV system alone will not reliably kill pathogens. Sediment pre-filtration is mandatory before UV treatment.
Tier 2: Strongly Recommended (Common AU Bore Contaminants)
Iron — ADWG aesthetic guideline: 0.3 mg/L. Iron is the most common bore water complaint in Australia. It stains laundry, fixtures, and teeth. More importantly, iron above 0.3 mg/L feeds iron-oxidising bacteria (Gallionella, Leptothrix) that produce slime in pipes and reduce bore yield over time. Common in bores across QLD’s Darling Downs, VIC’s western districts, and WA’s southwest.
Manganese — ADWG aesthetic guideline: 0.1 mg/L; health guideline: 0.5 mg/L. Manganese causes black staining and, at health guideline levels, is associated with neurological effects in children. Often co-occurs with high iron. The ADWG health guideline was revised downward to reflect emerging evidence on developmental neurotoxicity.
Hardness (as CaCO₃) — ADWG aesthetic guideline: 200 mg/L (soft below 60, moderate 60-200, hard above 200). Bore water in SA (particularly the Adelaide Hills and Barossa), Perth’s northern suburbs, and parts of western NSW commonly exceeds 300 mg/L. Hard water does not pose a direct health risk, but it destroys hot water systems, reduces soap effectiveness, and shortens appliance life.
Total Dissolved Solids (TDS) — ADWG aesthetic guideline: 600 mg/L. Bore water TDS in Australia ranges from 100 mg/L in deep basalt aquifers to over 10,000 mg/L in saline bores in the WA Goldfields and western QLD. TDS above 1,200 mg/L is generally unpalatable. A TDS meter reading gives you a quick screening number, but does not tell you what the dissolved solids are — you need lab analysis for that.
Tier 3: Test If Risk Factors Present
| Contaminant | ADWG Guideline | When to Test | Common AU Regions |
|---|---|---|---|
| Arsenic | 0.01 mg/L | Baseline, then every 2 years | Gold mining regions (VIC, WA, QLD) |
| Fluoride | 1.5 mg/L | Baseline | Bore water across SA, inland QLD, NT |
| Lead | 0.01 mg/L | If house pre-1980s or pH below 6.5 | Older rural properties, coastal sandy aquifers |
| Pesticides (organochlorine, organophosphate) | Various (0.001-0.03 mg/L) | If near cropping or horticulture | Murray-Darling Basin, Ord River, Burdekin |
| PFAS | 0.07 μg/L (PFOS+PFHxS), 0.56 μg/L (PFOA) | If within 5 km of RAAF base, airport, or firefighting training facility | Williamtown NSW, Oakey QLD, Tindal NT, Katherine NT, Fiskville VIC |
| Salinity (electrical conductivity) | No health guideline; aesthetic <800 μS/cm | All bores in dryland salinity zones | WA Wheatbelt, SA Mallee, western VIC, western NSW |
Naturally occurring fluoride in bore water is a distinct issue from municipal fluoridation. While town water is fluoridated to a controlled 0.6-1.0 mg/L, bore water in parts of SA, inland QLD, and the NT can contain naturally occurring fluoride at 2-5 mg/L — well above the ADWG health guideline of 1.5 mg/L. Carbon filters cannot remove fluoride. Only reverse osmosis (90-97% removal) or activated alumina (80-95%) will bring it below guideline values.
How to Get Your Well Water Tested: DIY Screening vs NATA Lab Analysis
There are two paths to testing your bore water, and they serve completely different purposes. Confusing them is the most common mistake I see rural property owners make.
DIY Screening: What It Can and Cannot Do
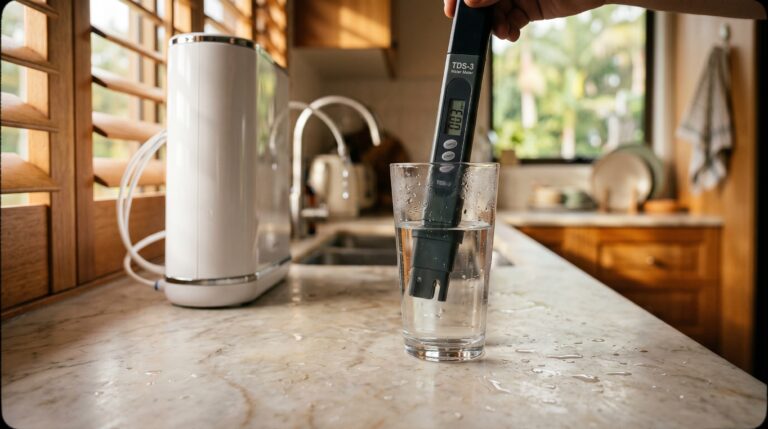
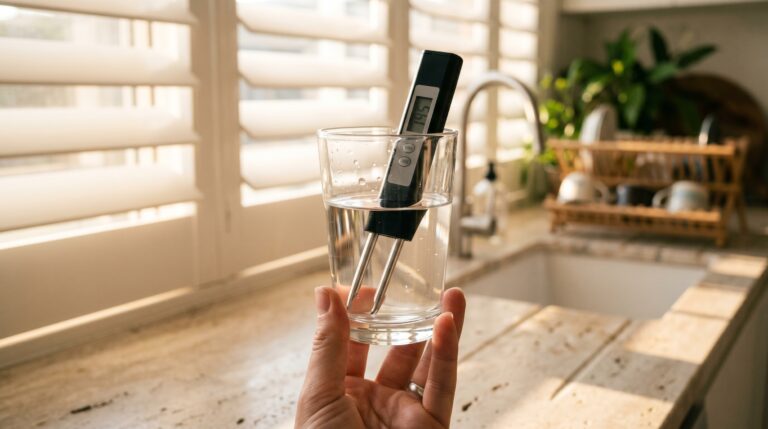
A TDS meter (~$85 for a reliable HM Digital unit) measures total dissolved solids in parts per million. It tells you something is in your water, but not what. A TDS reading of 800 ppm could be harmless calcium and magnesium, or it could be a cocktail of arsenic and nitrate. Without lab analysis, you are guessing.
pH test strips and hardness test strips ($10-$20 per pack) give rough screening values. They are useful for monitoring changes between lab tests — a sudden pH drop might indicate a new contamination pathway — but they lack the precision of laboratory instruments. A pH strip reading of “6” could mean 5.8 or 6.2, and that difference matters when assessing pipe corrosion risk.
What DIY kits cannot do: Detect bacteria. Detect heavy metals at guideline-relevant concentrations. Detect pesticides. Detect PFAS. If your bore water tests positive for anything serious, it will not be a $15 TDS meter that finds it. It will be a NATA-accredited laboratory running validated analytical methods.
NATA-Accredited Laboratory Testing: The Gold Standard
NATA (National Association of Testing Authorities) accreditation means the laboratory operates under ISO/IEC 17025, uses validated methods, participates in proficiency testing, and is audited regularly. When you need results that are legally defensible, medically actionable, or technically precise, NATA accreditation is non-negotiable.
How to find a NATA-accredited lab: Search the NATA directory at nata.com.au. Filter by “Chemical Testing” and “Biological Testing” for water. Every state has options:
| State | Example NATA Labs | Typical Cost (Comprehensive Panel) |
|---|---|---|
| QLD | ALS Environmental, Eurofins, QLD Health Forensic | $150-$400 |
| NSW | ALS Environmental, Sydney Analytical Labs, Eurofins | $150-$450 |
| VIC | ALS Environmental, CSIRO (select services), Melbourne Water (referral) | $150-$400 |
| WA | ALS Environmental, ChemCentre (state lab), MPL Laboratories | $180-$450 |
| SA | ALS Environmental, SA Water (referral), Eurofins | $150-$400 |
| TAS / NT | ALS Environmental (samples shipped), NT Government labs | $200-$450 (shipping adds cost) |
Typical cost breakdown: A basic microbiological panel (E. coli + total coliforms) costs $50-$80. A standard chemical panel (pH, TDS, hardness, iron, manganese, nitrate, turbidity) runs $80-$150. A comprehensive panel adding heavy metals (arsenic, lead, chromium) and PFAS pushes to $300-$450. PFAS testing alone can cost $150-$250 due to the ultra-trace analytical methods required (LC-MS/MS at sub-ppb detection limits).
How to Collect a Sample Correctly
A contaminated sample bottle, incorrect storage temperature, or delayed delivery invalidates your results and wastes your money. Follow these steps exactly:
- Contact the lab first. They will send or specify sterile sample bottles — often sodium thiosulfate-treated bottles for microbiological samples to neutralise any residual disinfectant. Do not use random bottles.
- Run the tap or bore pump for 2-3 minutes before collecting, to flush standing water from pipes. You want a representative sample from the aquifer, not stagnant pipe water (unless you are specifically testing for lead leaching from pipes, in which case collect a “first draw” sample).
- Fill the bottle without touching the inside of the cap or bottle neck. Cap immediately.
- Chill to 2-6°C immediately (esky with ice bricks). Microbiological samples must arrive at the lab within 24 hours — ideally within 6 hours. Bacteria counts change rapidly at ambient temperature.
- Label clearly: bore ID, date, time, your name, property address.
- Ship or deliver same day. Most labs accept drop-off at their receiving bay. For remote properties, express courier with cold packs is standard — the lab can advise on their preferred courier.
When to Test: Seasonal Timing and Retest Frequency
One test tells you what your bore water looks like on one day. Bore water quality is not static. It changes with rainfall, water table fluctuations, nearby land use, and bore infrastructure condition. A single annual test is the absolute minimum. More targeted timing produces more useful data.
Recommended Testing Schedule
| Trigger | What to Test | Why |
|---|---|---|
| Annual baseline (every 12 months) | Full panel: micro + chemical + metals | Establishes trend data. Schedule for same month each year. |
| After first heavy rain of wet season | E. coli, coliforms, turbidity, nitrate | Surface runoff can infiltrate bore head seals. Rain flushes agricultural contaminants into shallow aquifers. |
| After flooding | Full micro panel + turbidity + nitrate | Flood water submerging bore heads is the highest-risk contamination event. QLD and northern NSW bores after summer cyclones are particularly vulnerable. |
| After bore maintenance or pump replacement | E. coli + coliforms | Opening the bore introduces surface contamination. Test 48 hours after work and flushing. |
| Taste, odour, or colour change | Full panel — something has changed | A sudden metallic taste may indicate iron/manganese spike. Rotten egg smell (hydrogen sulphide) signals anaerobic conditions. Brown or yellow discolouration points to iron or tannins. |
| New property purchase | Full panel including PFAS if near known site | You have zero historical data. This is non-negotiable before drinking from an inherited bore. |
Seasonal timing by region: In QLD and northern NSW, test 2-4 weeks after the first significant wet-season rain (typically November-January). In VIC and SA, test after the autumn break rains (April-May) that recharge shallow aquifers. In WA, test after the first winter rains on the coastal plain (May-June). The principle is the same everywhere: the first significant recharge event after a dry period is when surface contaminants most readily enter the groundwater.
If you are within 5 km of a known PFAS contamination site — Williamtown in NSW, Oakey in QLD, Katherine in the NT, Fiskville in VIC — the DCCEEW national PFAS investigation register lists confirmed sites. Test for PFAS on your initial baseline and then every 2-3 years. The ADWG health-based guideline values for PFOS + PFHxS (combined) is 0.07 μg/L. PFAS does not break down. Once it is in your aquifer, it stays.
Interpreting Your Results: ADWG Guideline Values and What They Mean
Your lab report arrives as a spreadsheet of numbers. Without the ADWG guideline values as reference, those numbers are meaningless. Here is how to read your results.
The ADWG distinguishes between health guideline values (exceedance poses a health risk) and aesthetic guideline values (exceedance affects taste, odour, or appearance but not health). Some parameters have both. Iron, for example, has an aesthetic guideline of 0.3 mg/L but no health guideline — it tastes unpleasant and stains at that level, but does not cause illness at concentrations found in Australian bore water.
| Parameter | ADWG Guideline | Type | If Exceeded: What to Do |
|---|---|---|---|
| E. coli | 0 per 100 mL | Health | Stop drinking immediately. Boil water. Install UV disinfection. Inspect bore head seal. |
| Nitrate | 50 mg/L | Health | RO removes 83-92% of nitrate. Carbon filters do NOT remove nitrate. Do not give to infants. |
| Arsenic | 0.01 mg/L | Health | RO removes >95%. Known carcinogen — do not delay. |
| Lead | 0.01 mg/L | Health | RO removes >95%. Check pipe material. Replace copper/lead joints if present. |
| Fluoride | 1.5 mg/L | Health | RO (90-97%) or activated alumina (80-95%). Carbon filters CANNOT remove fluoride. |
| Iron | 0.3 mg/L | Aesthetic | Sediment/iron filter + RO for drinking. Air-injection oxidation filter for whole-house. |
| Manganese | 0.1 mg/L (aesthetic), 0.5 mg/L (health) | Both | RO removes >95%. Oxidation + filtration for whole-house. |
| Hardness | 200 mg/L CaCO₃ | Aesthetic | RO for drinking. Water softener (ion exchange) for whole-house. |
| TDS | 600 mg/L | Aesthetic | RO is the only technology that significantly reduces TDS. |
Notice the pattern. For almost every parameter that matters, the answer comes back to reverse osmosis. That is not because RO is the only treatment technology — it is because RO is the only single technology that addresses the broadest range of contaminants in well water simultaneously. Carbon block filters handle taste, odour, and some organic chemicals. UV kills bacteria and viruses. But neither removes dissolved metals, nitrate, or fluoride. Only RO does all three.
The Well Water Treatment Stack: UV + Sediment + RO
Your test results confirm contamination. Now you need to treat it. For bore water, a single filter type is rarely sufficient. The correct approach is a treatment stack — each stage targeting specific contaminant classes in the correct sequence.
Stage 1: Sediment Pre-Filter (5 micron)
Bore water almost always carries sediment — sand, silt, clay, and iron particulate. A 5-micron sediment cartridge protects downstream filters and UV lamps from fouling. Without it, your RO membrane clogs in weeks instead of months, and sediment particles shield bacteria from UV light, rendering disinfection unreliable. The ADWG recommends turbidity below 1 NTU for effective UV disinfection. A sediment pre-filter gets you there. Cost: $15-$30 per cartridge, replaced every 3-6 months depending on sediment load.
Stage 2: UV Disinfection
UV disinfection at 254 nm wavelength and a minimum dose of 40 mJ/cm² (per ADWG and NSF/ANSI 55 Class A standard) inactivates 99.99% of bacteria, viruses, and protozoan cysts including Cryptosporidium and Giardia — which are resistant to chlorine at normal doses. UV adds no chemicals. It produces no disinfection byproducts. But it only works if the water is clear — hence the sediment pre-filter.
UV comes before RO in the stack for a reason: you want to kill bacteria before they reach the RO membrane. Biofilm on an RO membrane is expensive to remediate. UV lamp replacement runs $60-$120 annually depending on the unit, with the quartz sleeve cleaned or replaced every 1-2 years.
Stage 3: Reverse Osmosis
RO forces water through a semi-permeable membrane at 0.0001 microns — 500 times finer than a standard 0.5-micron carbon block. This removes dissolved metals (arsenic >95%, lead >95%, iron, manganese), nitrate (83-92%), fluoride (90-97%), TDS, PFAS (>98% per NSF/ANSI P473 certified systems), hardness, and salinity. No other single-pass technology achieves this breadth of removal.
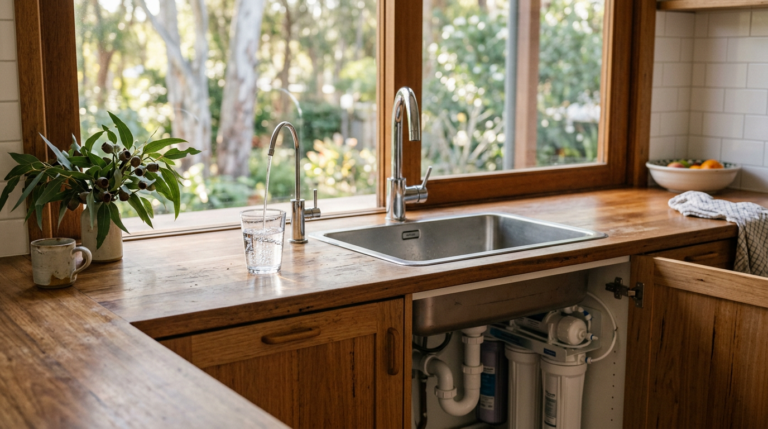
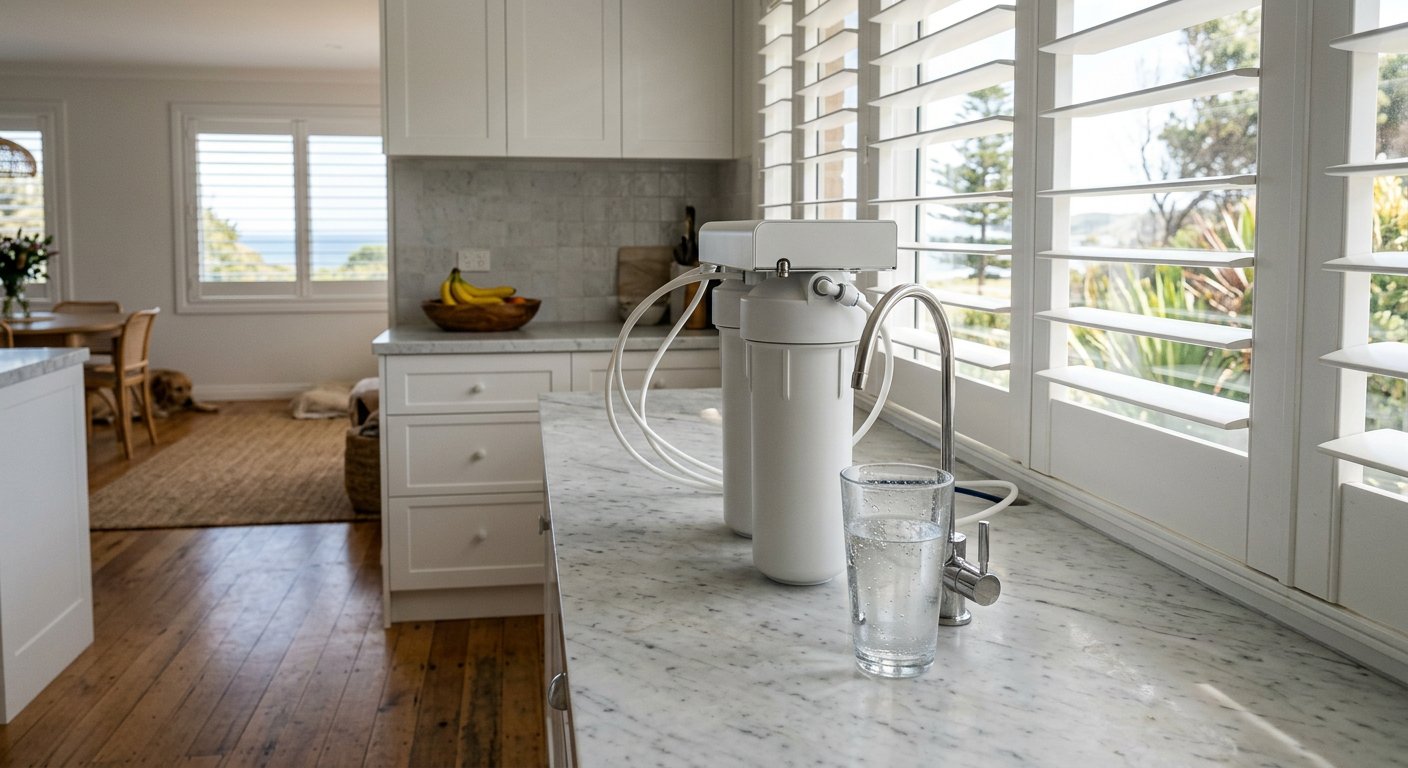
For a household relying on bore water, an under-sink RO system handles drinking and cooking water. The Waterdrop D6 under-sink RO is a compact option with NSF/ANSI 58 certification, 600 GPD capacity, and a tankless design that reduces the footprint under your sink. At roughly $499 on Amazon AU, it is the most practical under-sink RO for Australian rural properties where bore water TDS and contaminant profiles demand multi-stage treatment.
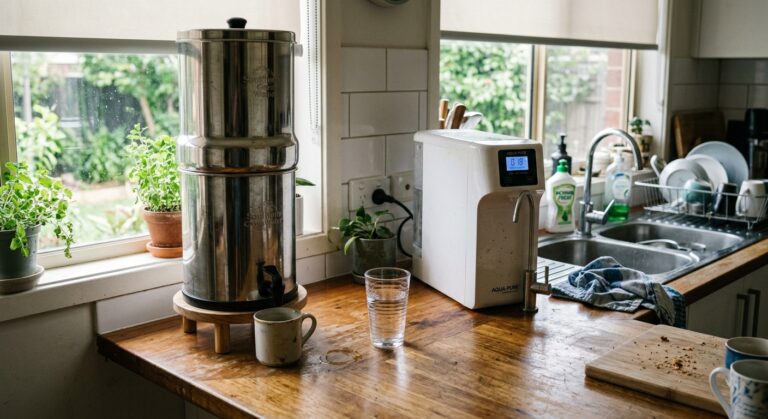
If you are renting, cannot modify plumbing, or want portability between properties, the AquaTru Classic Smart Alkaline countertop RO sits on your bench, requires zero installation, and delivers the same RO membrane rejection rates. It costs more upfront (around $699) but moves with you and works on any kitchen bench with a power outlet.
5-Year Cost Comparison: RO vs Bottled Water for a Rural Household
The common objection to RO is cost. Let us run the numbers. Assuming a 4-person household consuming 4 litres of drinking water per day (1,460 litres per year):
| Option | Upfront | Annual Filters/Cost | 5-Year Total | Cost/Litre |
|---|---|---|---|---|
| Waterdrop D6 RO | ~$499 | ~$120 | ~$1,099 | $0.15 |
| AquaTru Classic RO | ~$699 | ~$130 | ~$1,349 | $0.18 |
| Bottled water (Woolworths 1.5L) | $0 | ~$1,460 (at $1/L) | ~$7,300 | $1.00 |
| Delivered water (rural 15L refills) | $0 | ~$730 (at $0.50/L) | ~$3,650 | $0.50 |
At $0.15 per litre, the Waterdrop D6 pays for itself within 7 months compared to bottled water. On a rural property where the nearest Woolworths might be a 45-minute drive, the convenience factor alone justifies the investment. You are not just saving money — you are eliminating weekly trips to town for water that is not even tested as rigorously as what comes through a certified RO membrane.
Common Mistakes That Invalidate Your Test Results or Treatment
Testing and filtering bore water is not complicated, but there are specific failure modes I see repeatedly on Australian rural properties. Avoiding these saves you money, time, and exposure.
Mistake 1: Using a non-NATA lab. Some water testing services advertise “NHMRC-compliant” or “Australian standard” testing without NATA accreditation. Without accreditation, there is no external verification that their methods, equipment calibration, or quality systems meet ISO/IEC 17025. Your results may be inaccurate, and they are not legally defensible if you need them for a property sale, insurance claim, or health investigation. Always verify the NATA accreditation number.
Mistake 2: Testing only once. A single test is a snapshot. Bore water quality varies seasonally. A bore that tests clean in August (end of dry season, water table low, minimal surface recharge) may show E. coli after the first January thunderstorm that floods the bore head. Annual testing is the minimum. Post-rain testing is how you catch the contamination events that actually make people sick.
Mistake 3: Installing a carbon filter and assuming you are covered. Standard granular activated carbon (GAC) and carbon block filters remove taste, odour, and some organic chemicals. They do NOT remove bacteria, nitrate, fluoride, arsenic, lead, or dissolved salts. If your bore water has any of these contaminants — and most Australian bores have at least one — carbon alone is not a solution. You need RO.
Mistake 4: Skipping the sediment pre-filter before UV. UV disinfection requires clear water. Turbidity above 1 NTU allows particles to shield bacteria from UV light, creating “shadow zones” where pathogens survive. Without sediment pre-filtration, your UV lamp is expensive decoration. Similarly, sediment before RO protects the membrane from premature fouling.
Mistake 5: Not testing after bore work. Any time a driller, plumber, or pump installer opens your bore casing, surface contamination enters the bore. Standard practice is to shock-chlorinate and flush the bore, then retest 48 hours later. If your contractor does not recommend this, find a different contractor.
Mistake 6: Ignoring the bore head seal. A cracked, corroded, or poorly sealed bore head is the single most common pathway for surface contamination. Vermin, insects, surface runoff, and flood water enter through compromised seals. An annual visual inspection of your bore head — checking for cracks, gaps, corrosion, and ensuring the cap is secure — is free and takes five minutes. According to the NHMRC, bore head integrity is the first line of defence against microbiological contamination.
Decision Tree: What Filter Do You Need Based on Your Test Results?
Your lab results are back. Use this three-question decision tree to determine the right treatment for your bore.
Question 1: Did the lab detect E. coli or total coliforms?
Yes → You need UV disinfection (NSF/ANSI 55 Class A, minimum 40 mJ/cm²) upstream of any other filtration. A sediment pre-filter before the UV lamp is mandatory if turbidity exceeds 1 NTU. Do not drink the water until UV is installed. Boil in the interim.
No → Skip UV unless you want belt-and-braces protection (recommended for shallow bores under 30 metres in agricultural areas).
Question 2: Did the lab detect nitrate, arsenic, lead, fluoride, or PFAS above ADWG guideline values?
Yes → You need reverse osmosis. No other single technology removes all five. Carbon block removes none of them at guideline-relevant concentrations.
Ready to filter your water?
The EcoHero 5-Stage RO is the top-rated under-sink filter for Australian homes — NSF 58 certified, WaterMark AS3497, removes fluoride, PFAS, lead, and chloramine.
Frequently Asked Questions
How often should I test my bore or well water in Australia?
At minimum, annually. Test again after heavy rain or flooding, after any bore work (drilling, pump servicing), and immediately if the water changes colour, smell, or taste. Bore water quality varies seasonally, so a clean result in dry season does not guarantee a clean result after the first summer storm.
Does a carbon filter remove bacteria from bore water?
No. Standard granular activated carbon and carbon block filters remove taste, odour, and some organic chemicals, but they do not remove bacteria, nitrate, fluoride, arsenic, lead, or dissolved salts. If your test shows E. coli or coliforms, you need UV disinfection, not a carbon filter.
Is a handheld TDS meter enough to know if my well water is safe?
No. A TDS meter tells you there are dissolved solids in the water, not what they are. A reading of 800 ppm could be harmless calcium and magnesium or a mix of arsenic and nitrate. Only NATA-accredited lab analysis identifies specific contaminants and concentrations.
What is the ADWG limit for nitrate in drinking water?
The Australian Drinking Water Guidelines set a health-based limit of 50 mg/L for nitrate. Reverse osmosis removes 83-92% of nitrate; carbon filters remove none. Water above this limit should not be given to infants under 3 months due to the risk of methaemoglobinaemia.
What order should sediment, UV, and RO filters go in?
Sediment pre-filter first (protects downstream equipment and clears water for UV to work), then UV disinfection (kills bacteria and viruses before they can reach the RO membrane), then reverse osmosis last. Skipping the sediment stage lets turbidity shield bacteria from UV light and fouls the RO membrane early.
Why does bore head condition matter for water safety?
A cracked, corroded, or poorly sealed bore head is the most common pathway for surface contamination — vermin, insects, runoff, and flood water can enter through a compromised seal. According to the NHMRC, bore head integrity is the first line of defence against microbiological contamination, and an annual visual check takes about five minutes.
Do I need a NATA-accredited lab for well water testing?
Yes, if you want results you can trust or use legally. Without NATA accreditation, there is no external verification that a lab’s methods, equipment calibration, or quality systems meet ISO/IEC 17025. Non-accredited results are not defensible for a property sale, insurance claim, or health investigation.
Can reverse osmosis remove fluoride and PFAS from bore water?
Yes. Reverse osmosis removes 90-97% of fluoride and, in NSF/ANSI P473-certified systems, over 98% of PFAS. Activated alumina is an alternative for fluoride only (80-95% removal). Standard carbon filters cannot remove either fluoride or PFAS.
Get the Australian Home Environment Checklist
30 checks across water, air and EMF. Most of them free. Ranked by impact.
No spam. Unsubscribe any time.

Former Royal Australian Navy Clearance Diver and TAG-E counter-terrorism operator. Founded Clean and Native to apply the same rigorous thinking to the home environment.
Full biography →